Morse code elements Images, Stock Photos & Pictures

Only a few matches for morse code elements. Also displaying results for

Search 74 morse code elements stock photos, HD images and pictures, or try related searches: morse code, analog meter.

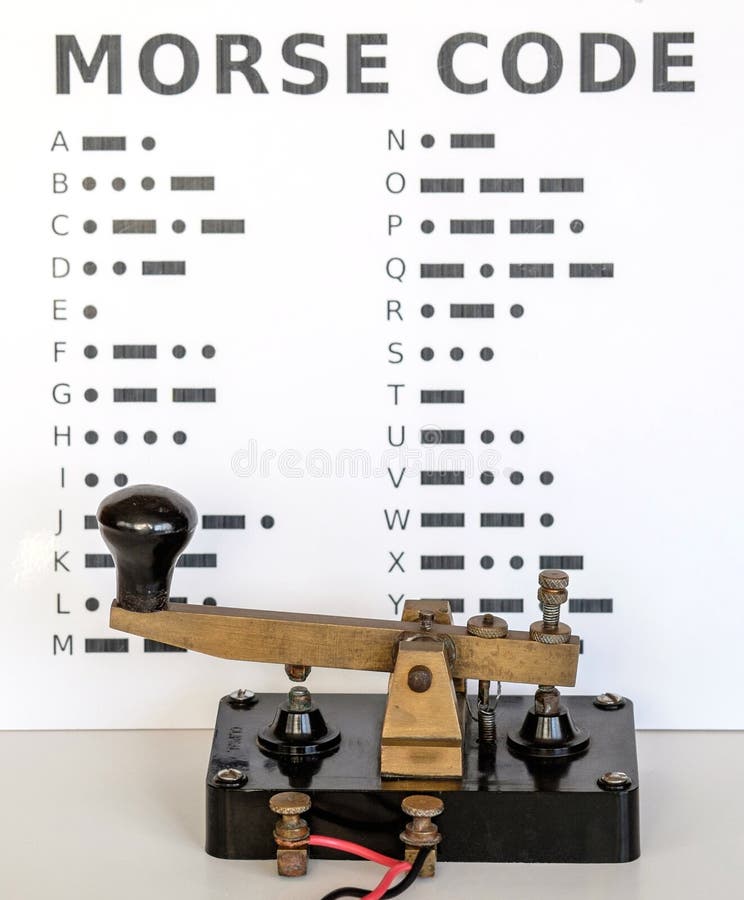
Antique telegraph machine representing historical communication technology, featuring a brass keyer and sounder on a polished wooden base, used for sending morse code signals. Morse code elements stock images, royalty-free photos and pictures
Morse Code Tulips Three tulips (Tulipa) in a dotted brass Morse code vase, petals aligning with signals, metal etched. Precisely,. AI generated. Morse code elements stock images, royalty-free photos and pictures
A vintage Morse code Inker used for copying Morse code signals into paper. This type of inker was used by Marconi for his groundbreaking first transatlantic wireless transmissions. They could also be used for wire telegraphs as well. Morse code elements stock images, royalty-free photos and pictures
World war two era morse code practice buzzer, plated brass components on a wooden base. Sets such as this would have been used to train airforce recruits morse code sending when fitted with a battery under the straps and headphones connected to the terminals. Isolated on white. Morse code elements stock images, royalty-free photos and pictures
A smart bulb glows red, flickering in rhythms that resemble morse code in a dark, minimal room. The atmosphere feels tense and uncertain. Morse code elements stock images, royalty-free photos and pictures
Rows of black dots and short and long horizontal bars form a dense, orderly pattern across a white background, resembling Morse code or a graphic encoding system. The symbols vary in spacing and alignment, with some rows tightly packed and others broken into longer stretches of bars. Stark monochrome contrast gives the abstract composition a crisp, mechanical appearance, while the repeating marks suggest a message without revealing readable words. Morse code elements stock images, royalty-free photos and pictures
Antique brass telegraph key mounted on a dark wooden base. The brass mechanism showcases a lever and two adjustment screws, all featuring a patina indicative of age and use. The dark wooden base is rectangular, with a smooth, polished finish showing signs of wear. The telegraph key is designed for sending Morse code, reflecting historical communication methods. It is displayed against a white background, highlighting its vintage craftsmanship and engineering. Morse code elements stock images, royalty-free photos and pictures
A Camelback Morse key and sounder dating from around 1860. This type of key was used on the American telegraph system. It gains its name from the distinctive shape of the lever in the key. Morse code elements stock images, royalty-free photos and pictures
An antique Morse key - type known as a Camelback as a result of the shape of the lever. It dates from around 1860 and has the associated buzzer on the board. Morse code elements stock images, royalty-free photos and pictures
Historic photograph showing hands tapping vintage metal telegraph key transmitter placed on rustic wooden desk in workshop studio background. Morse code elements stock images, royalty-free photos and pictures
An antique Morse key - type known as a Camelback as a result of the shape of the lever. It dates from around 1860 and has the associated buzzer on the board. Morse code elements stock images, royalty-free photos and pictures
A smart bulb flickers red in a dark room, creating a moody atmosphere while signaling a potential issue through morse-like patterns. Morse code elements stock images, royalty-free photos and pictures
An antique Morse key - type known as a Camelback as a result of the shape of the lever. It dates from around 1860 and has the associated buzzer on the board. Morse code elements stock images, royalty-free photos and pictures
Morse sending key from a world war two armoured fighting vehicle (tank). Brass components with bakelite base and knob. This example mounted on a steel plate for bench use. Dated 1939. Isolated on white. Morse code elements stock images, royalty-free photos and pictures
Washington DC, USA - 14 June 24: WWII Operation Gunnerside display featuring clothing and radio equipment at the International Spy Museum in Washington, DC, USA. Morse code elements stock images, royalty-free photos and pictures
A vintage Morse key of the type used by the British Post Office. It was made by Walters Electrical and dates from around the year 1900. Morse code elements stock images, royalty-free photos and pictures
Antique telegraph machine featuring brass components, a dark wooden base, and a paper roll, symbolizing early communication technology and the invention of long distance messaging. Morse code elements stock images, royalty-free photos and pictures
Antique telegraph machine with a brass mechanism and a paper roll, sitting on a black base and wooden platform, transmitting a communication signal. Morse code elements stock images, royalty-free photos and pictures
World war 2 era allied radio receiver such a would have been used to monitor enemy radio traffic. Crinkle black paint front panel with meter and bakelite knobs. Isloated on white. Morse code elements stock images, royalty-free photos and pictures
Radio Kootwijk, located on De Veluwe, was a long wave transmission station, built in reinforced concrete in the 1920`s for permanent contact with the then Dutch East Indies using radio telegraphs. The architect is Julius Maria Luthmann 1890-1973. During World War II, the German occupying forces used the station for communications with the submarines of the Kriegsmarine in the Atlantic. Nowadays maintained as a monument by the Dutch State Forest Commission. Morse code elements stock images, royalty-free photos and pictures